
Most crowns and fillings have a particular time up to which they remain intact. After a long period of use, the glue, sticking the crown in place, wears off. In such cases, you can tentatively re-cement the collapsed cap/crown using dental glue, which is a substitute, over-the-counter restorative dental cement.
You can use it to stick the crown back into position. Before getting into different types of dental cement kits, let us look at the basic steps to DIY repair crowns.
-
Step 1: Examine the Loose Crown and the Tooth
If the tooth is broken and you have pain and swelling, do not try to operate on your own. Consult a dentist first. However, if the crown is hollow or has some part of the post sticking out, it means only cement needs to replenish, and you can fix it yourself.
-
Step 2: Gather Accessories for the DIY Exercise
Arrange for 2-3 doses of dental glue or cementing material. You can choose from some of the products mentioned in this article. Collect a toothpick, a paper clip, floss, a magnifying mirror, and a toothbrush.
-
Step 3: Prepare The Tooth
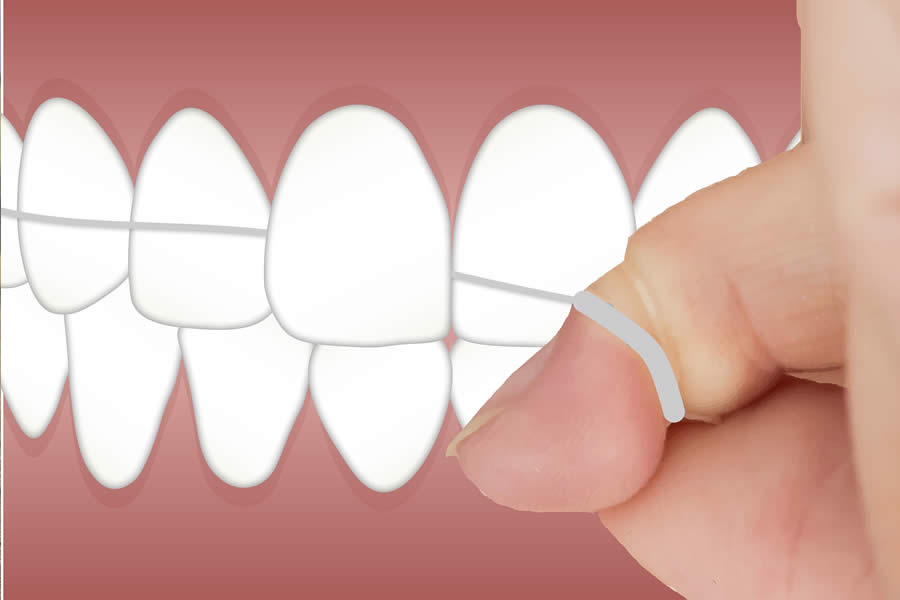
Using a toothbrush and floss to brush and rinse off your tooth. Use a paperclip for scratching off the excess cement from the crown. You may feel slight sensitivity, but do not worry; it is normal.
-
Step 4: Do a Dry Run
Look into the mirror and try to fit the crown on the teeth without applying any cement and feel if you can bite adequately and try different angles of seating the crown on the teeth.
-
Step 5: Ready the Dental Cement kit
The next step is to ready the dental glue. Read the dental glue kit instructions properly. Some are readymade, while few require mixing with a liquid. Some cement can fill a tooth, and some can glue the crown.
-
Step 6: Apply the Cement
After understanding the dental cement kit instructions, use a cotton gauze to dry clean the tooth. Then, apply glue to the soffit of the crown. Just like you practiced in Step 5, fit the crown over the tooth and then bite your teeth.
After a minute’s pause, wipe the extra cement using a toothpick and gently clean in between the teeth using a floss. While flossing, do not floss by pulling both ends as it might dislodge the cemented crown.
-
Step 7: Visit Your Dentist
The temporary repair of the crown may remain for 3-4 days or even weeks. Do not wait for long and visit your dentist to get a more permanent replacement done. The dentist uses a white crown that looks exactly like a tooth and preserves the tooth structure.
You can use the following dental glue or cement for temporary DIY repairs.
1. Temporary Tooth Replacement Product
They are a quick fix for the missing teeth. They don’t contain cement and can easily replace part of your teeth of any lost teeth. A temporary tooth replacement kit contains moldable material that you can use to create a realistic tooth within minutes.
It also provides dental tools for your ease of use. It sets up real quick. Using one kit, you can create up to 25 temporary teeth. It does come with a few cons like once it gets dry, it might not wholly resemble an actual tooth. Secondly, you cannot eat after fixing a temporary tooth.
2. Custom dental glue
This DIY product is clinically proven to repair loosened crowns, caps, and dropped fillings temporarily. It is the most readily available product. It is easy to use, reliable, and long-lasting.
Unlike other DIY dental glue, this product stays for several weeks before breaking or falling. You don’t have to go through a mess to apply it, as it comes pre-mixed. It takes approximately an hour for the cement to solidify. It would help if you waited for an hour to eat and drink.
3. Dentemp customized mixable kit
This unique formula helps in fixing missing fillings, crowns, and detached caps. It also provides immediate pain relief. You can use it easily with dentures.
For application, you have to mix this cement yourself, and it contains enough material for single use. It can get messy since you have to mix it manually. It is very economical. As the name suggests, it’s temporary, so that it might fall out in a few days.
4. Max Repair Kit
This product has the same components that the dentists use for filling and provides maximum firmness. This temporary remedy helps you in replacing your inlay, crown, fillings, or caps. It comes with an applicator and doesn’t create a mess. See a dentist inevitably in 48 hours of applying it.
It would be best if you take it out only by a dentist. It is super affordable and the right choice for temporary fixing. Understand that it does take time to set, and it can break or fall out if you do no apply it correctly.
Each of the above products uses its exclusive mixture. Therefore, read their instructions before using them for a positive experience. Make a note of the following Do’s and Don’ts of using Dental Glue.
Do’s
- Maintain clean teeth before the DIY procedure.
- Use minimal dental glue with more efficiency.
- Without putting much pressure, remove off any leftovers on tooth ridges with lukewarm water and a cloth.
- Wait a little longer to start chewing with your fresh cemented teeth than what’s mentioned in the description.
- Read various reviews to find tips and watch DIY videos for the product you are planning to use.
Don’t
- Don’t put pressure immediately on the bond while cleaning.
- These products will only give you a temporary fix. So, don’t expect anything more than that.
Conclusion
Follow the above mentioned DIY steps and read the instruction given on the product’s description. Understanding the product instructions thoroughly will help you in getting the maximum benefits out of your chosen product.
For a permanent tooth repair, consult a dentist and let them examine the severeness of your tooth. Getting your tooth check-up by a dentist might reveal any other damages like infection of the tooth pulp. Remember to take care of your teeth while they are healthy by following a healthy oral care routine.
Image Credit: dental glue for teeth by Pixabay
end of post … please share it!
GUIDE: state-by-state travel guides
end of post idea for home improvement
view and analyze home improvement ideas at our LetsRenovate center
Helpful article? Leave us a quick comment below.
And please give this article a rating and/or share it within your social networks.